← Back to Installation Methods
Get Your Free Estimate Today
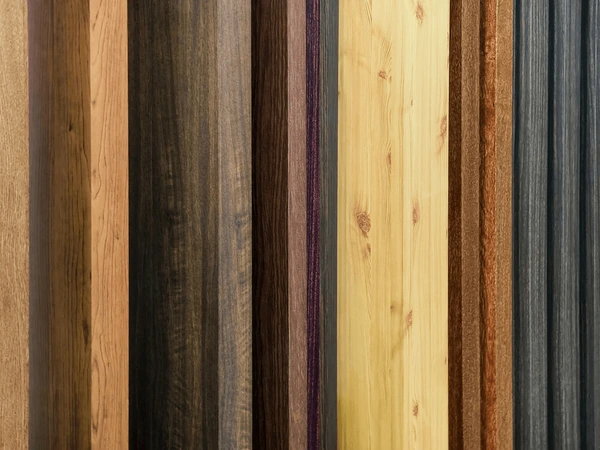
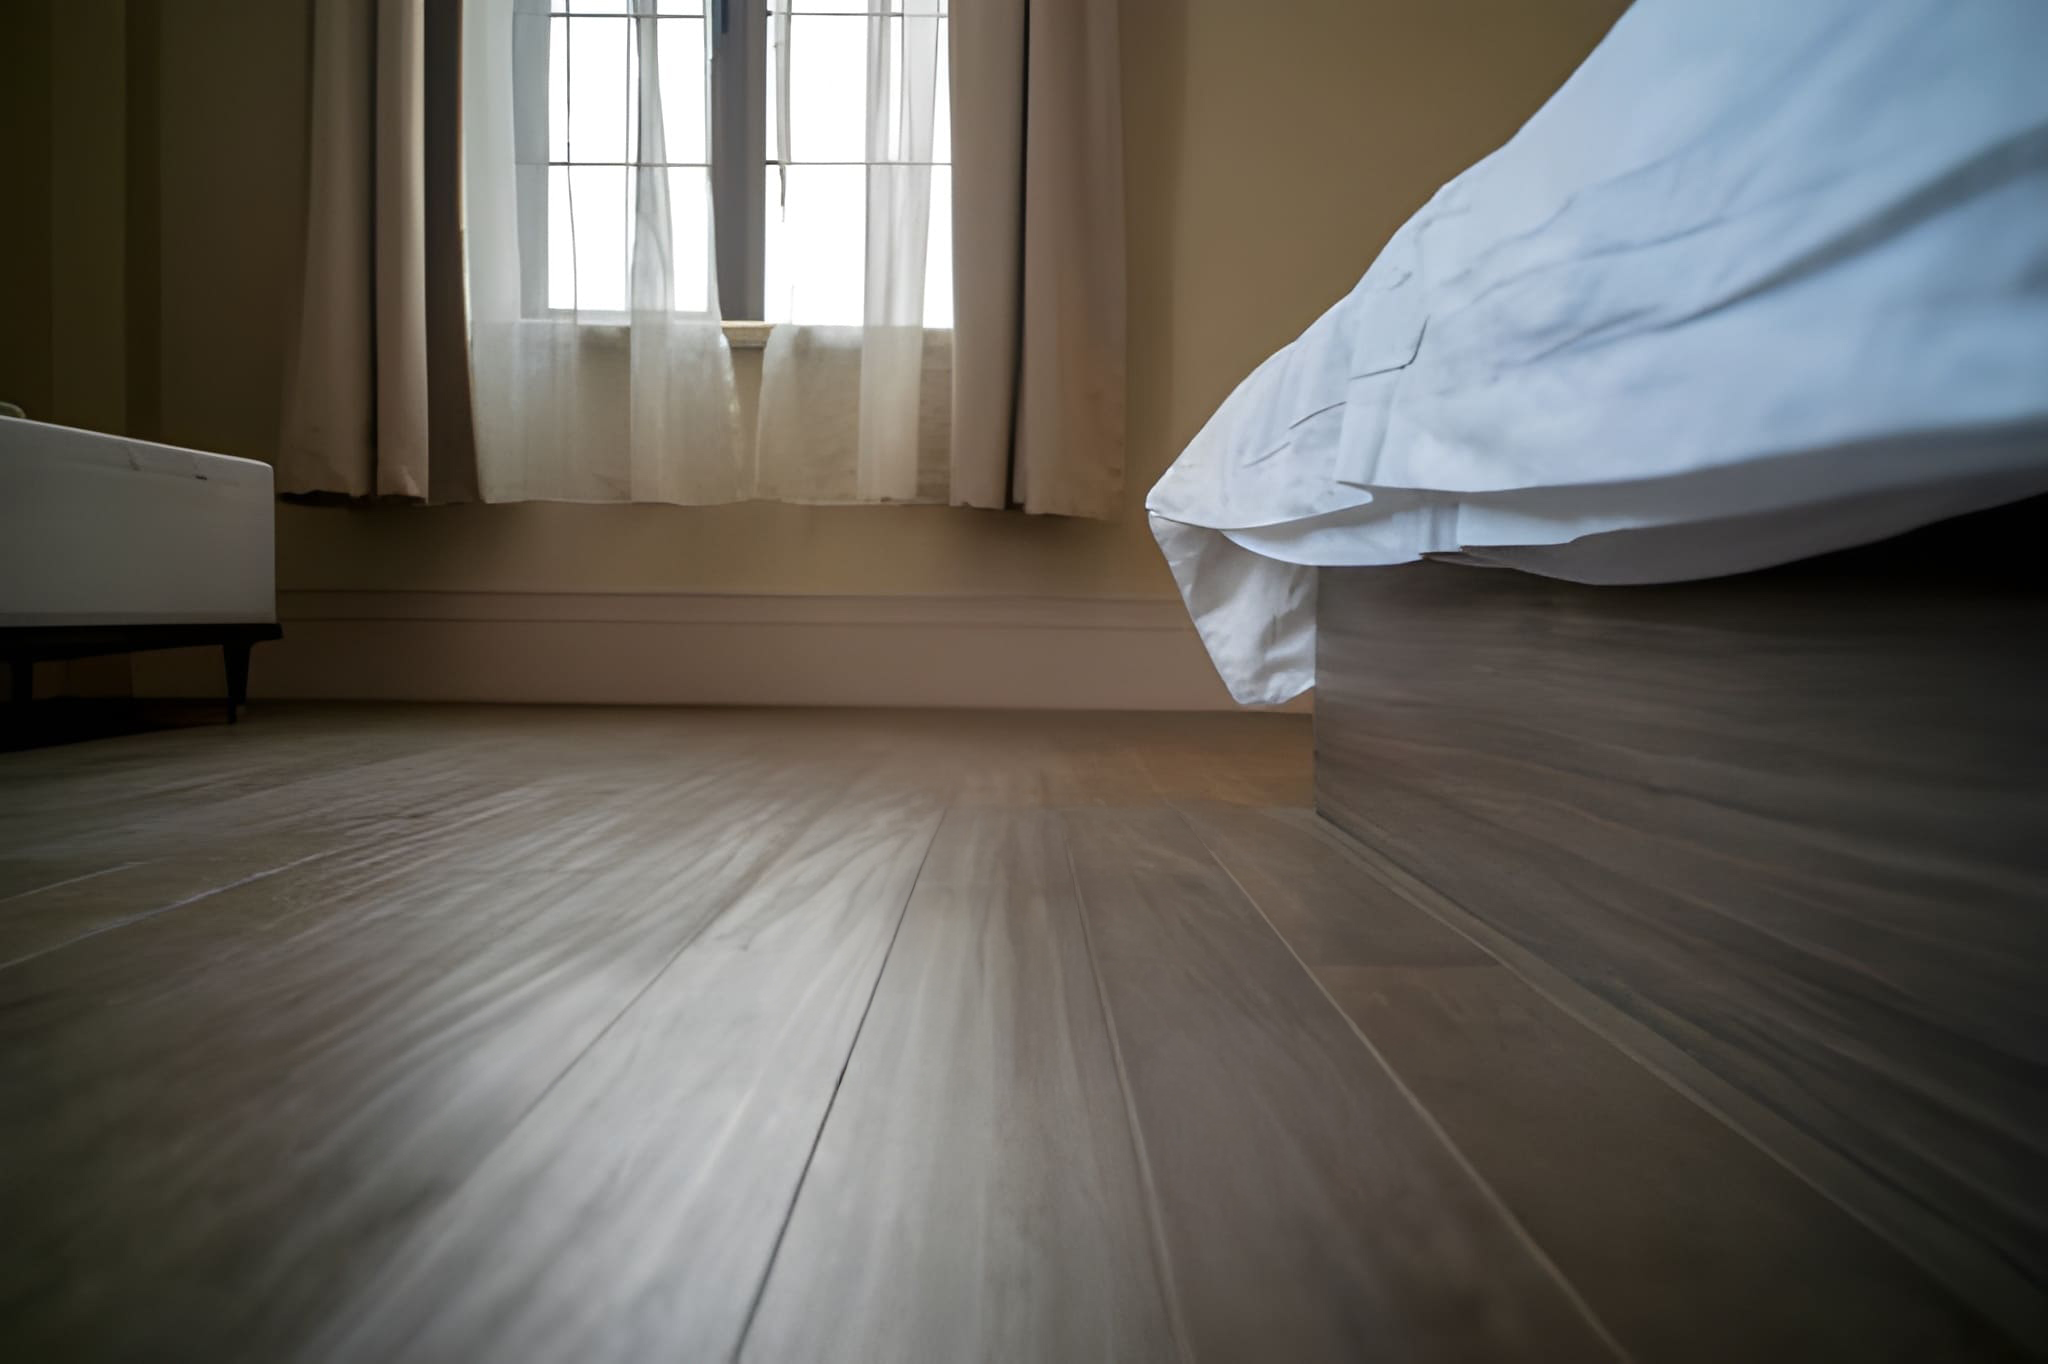
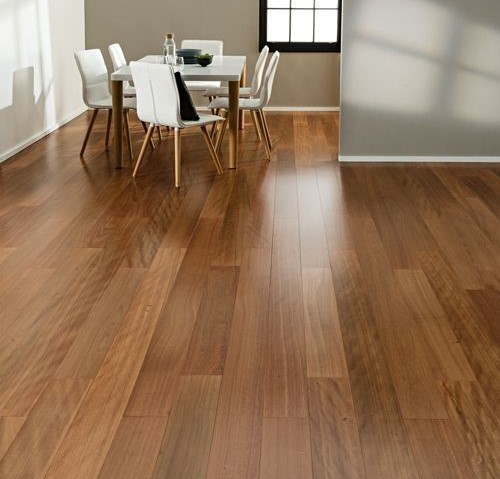
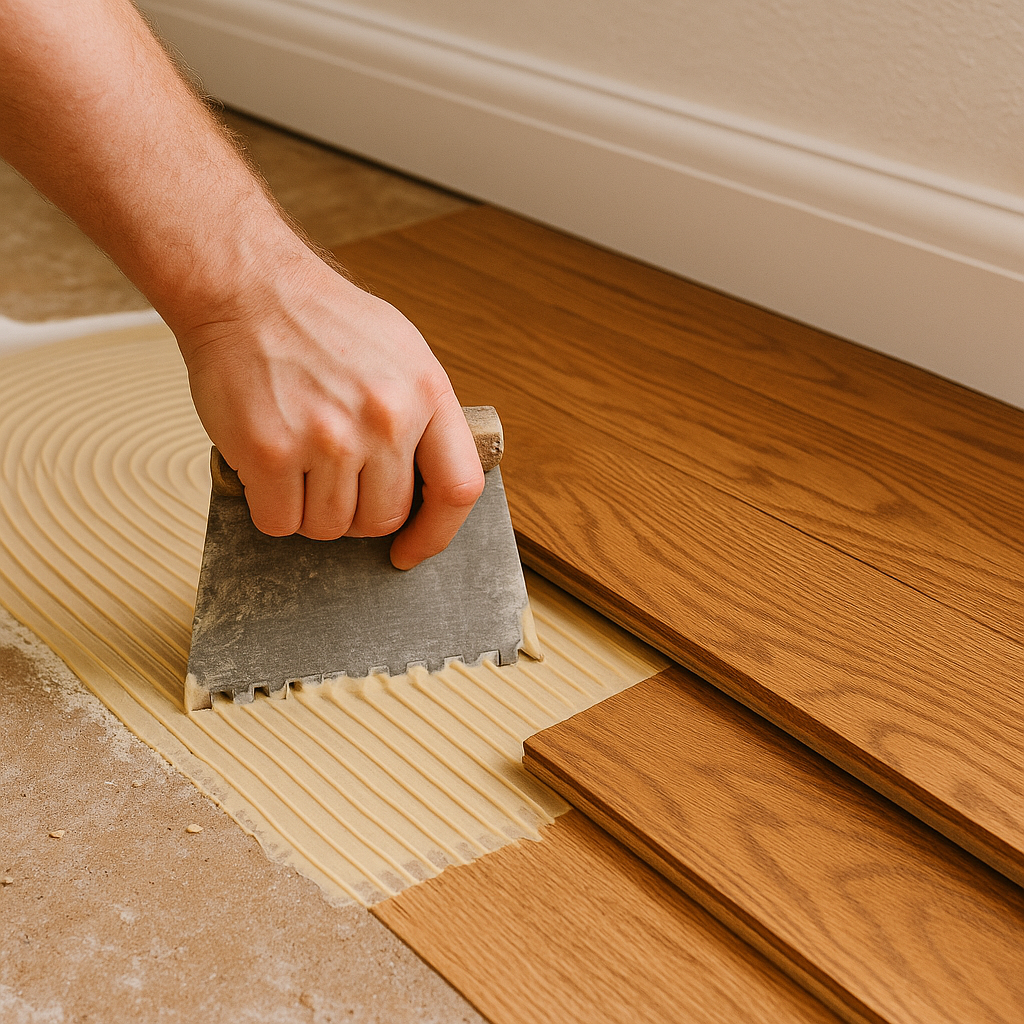
Glue down installation
Glue down installation involves applying a moisture-resistant flooring adhesive directly to the subfloor and then setting hardwood planks onto it. This creates a permanent bond between the flooring and the substrate. This method is particularly popular for solid hardwood flooring and is often used in commercial settings where stability and durability are critical.
Materials Needed
- • Premium flooring adhesive
- • Moisture meter
- • Trowel or spreader
- • Sponge and water
- • Rags or towels
Resources
Things to keep in mind:
- • Moisture testing is critical before installation. Test both concrete and wood subfloors to ensure moisture levels are within acceptable limits.
- • Use manufacturer-approved adhesives specifically designed for hardwood flooring. Follow all application instructions carefully.
- • Apply adhesive evenly to ensure proper coverage and bonding of all planks to the subfloor.
- • Allow proper curing time (typically 24-48 hours) before foot traffic. Do not use the floor immediately after installation.
- • Maintain expansion gaps around the perimeter even with glue down installation. Flooring still needs room to expand and contract.
- • Install in cool, dry conditions for best results. Extreme temperatures or humidity can affect adhesive performance.
- • Clean excess adhesive immediately with a damp sponge before it hardens on the flooring surface.
- • Consider moisture barriers on concrete subfloors to prevent moisture from affecting the adhesive bond.
- • Do not install in basements without addressing any moisture or drainage issues first.