
← Back to Installation Methods
Get Your Free Estimate Today
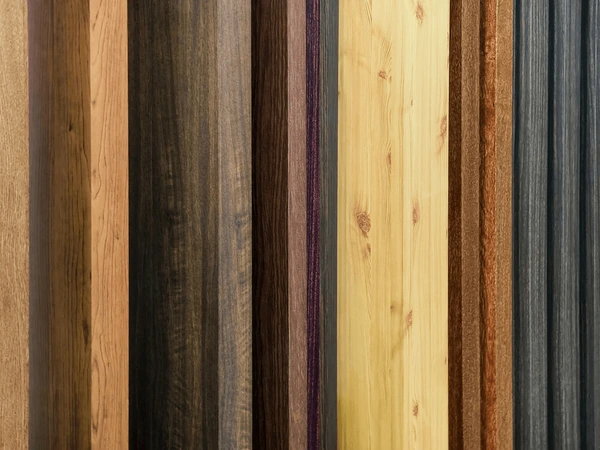
Floor trim & molding
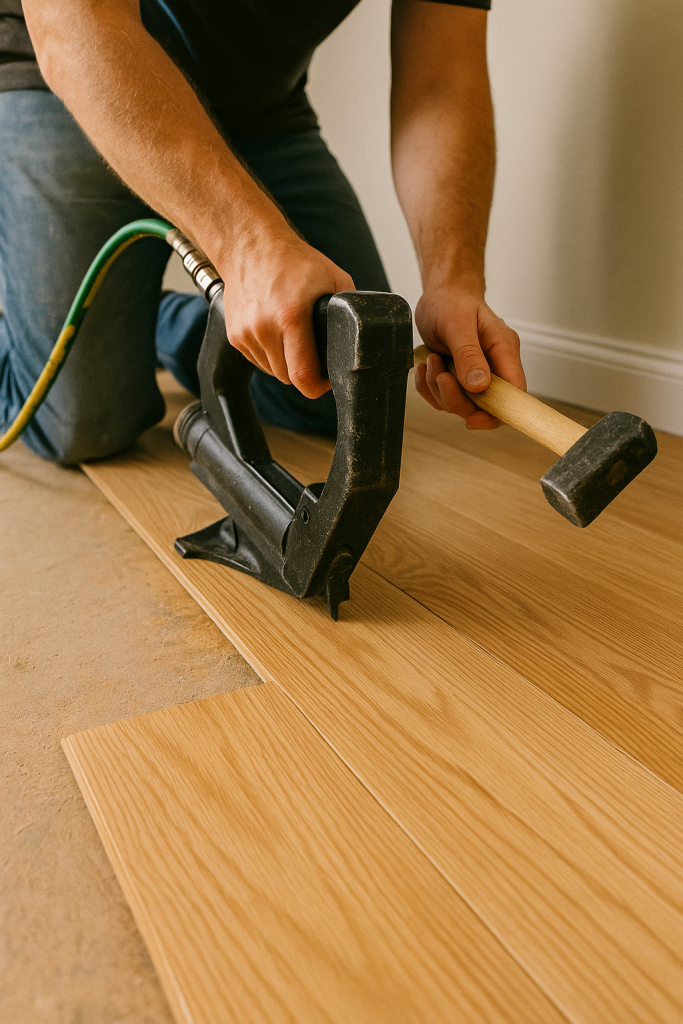
Professional floor trim and molding installation adds the finishing touch to your new flooring. We provide precise, seamless transitions between rooms and cover expansion gaps around the perimeter to create a polished, professional appearance. Proper trim installation is essential for protecting your investment.
Materials Needed
- • Trim or baseboard molding
- • Finishing nails or fasteners
- • Miter saw for cutting
- • Nail gun or hammer
- • Caulk and caulk gun
Resources
Things to keep in mind:
- • Expansion gaps are mandatory for all flooring installations. Trim covers these gaps and prevents moisture infiltration.
- • Measure twice, cut once. Precise measurements ensure proper fit and minimize waste of materials.
- • Miter corners for professional appearance. Professional cuts create seamless transitions at room corners.
- • Stain or paint before installation when possible. This creates cleaner lines and easier application.
- • Use appropriate fastening methods. The right nails or screws ensure trim stays in place permanently.
- • Caulk gaps and joints for a seamless, finished appearance and added protection.
- • Match trim to your flooring or décor for a cohesive, professional look.
- • Different trim types for different areas. Use baseboards at walls, transitions at doorways, and reducers for level changes.
- • Installation must be level and plumb. Use a level to ensure trim sits straight for proper appearance.