← Back to Installation Methods
Get Your Free Estimate Today
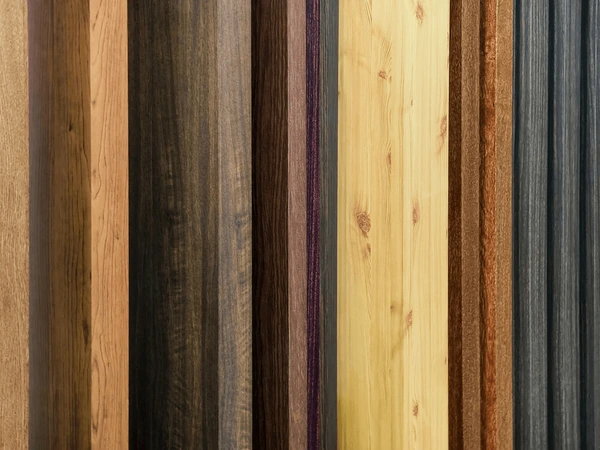
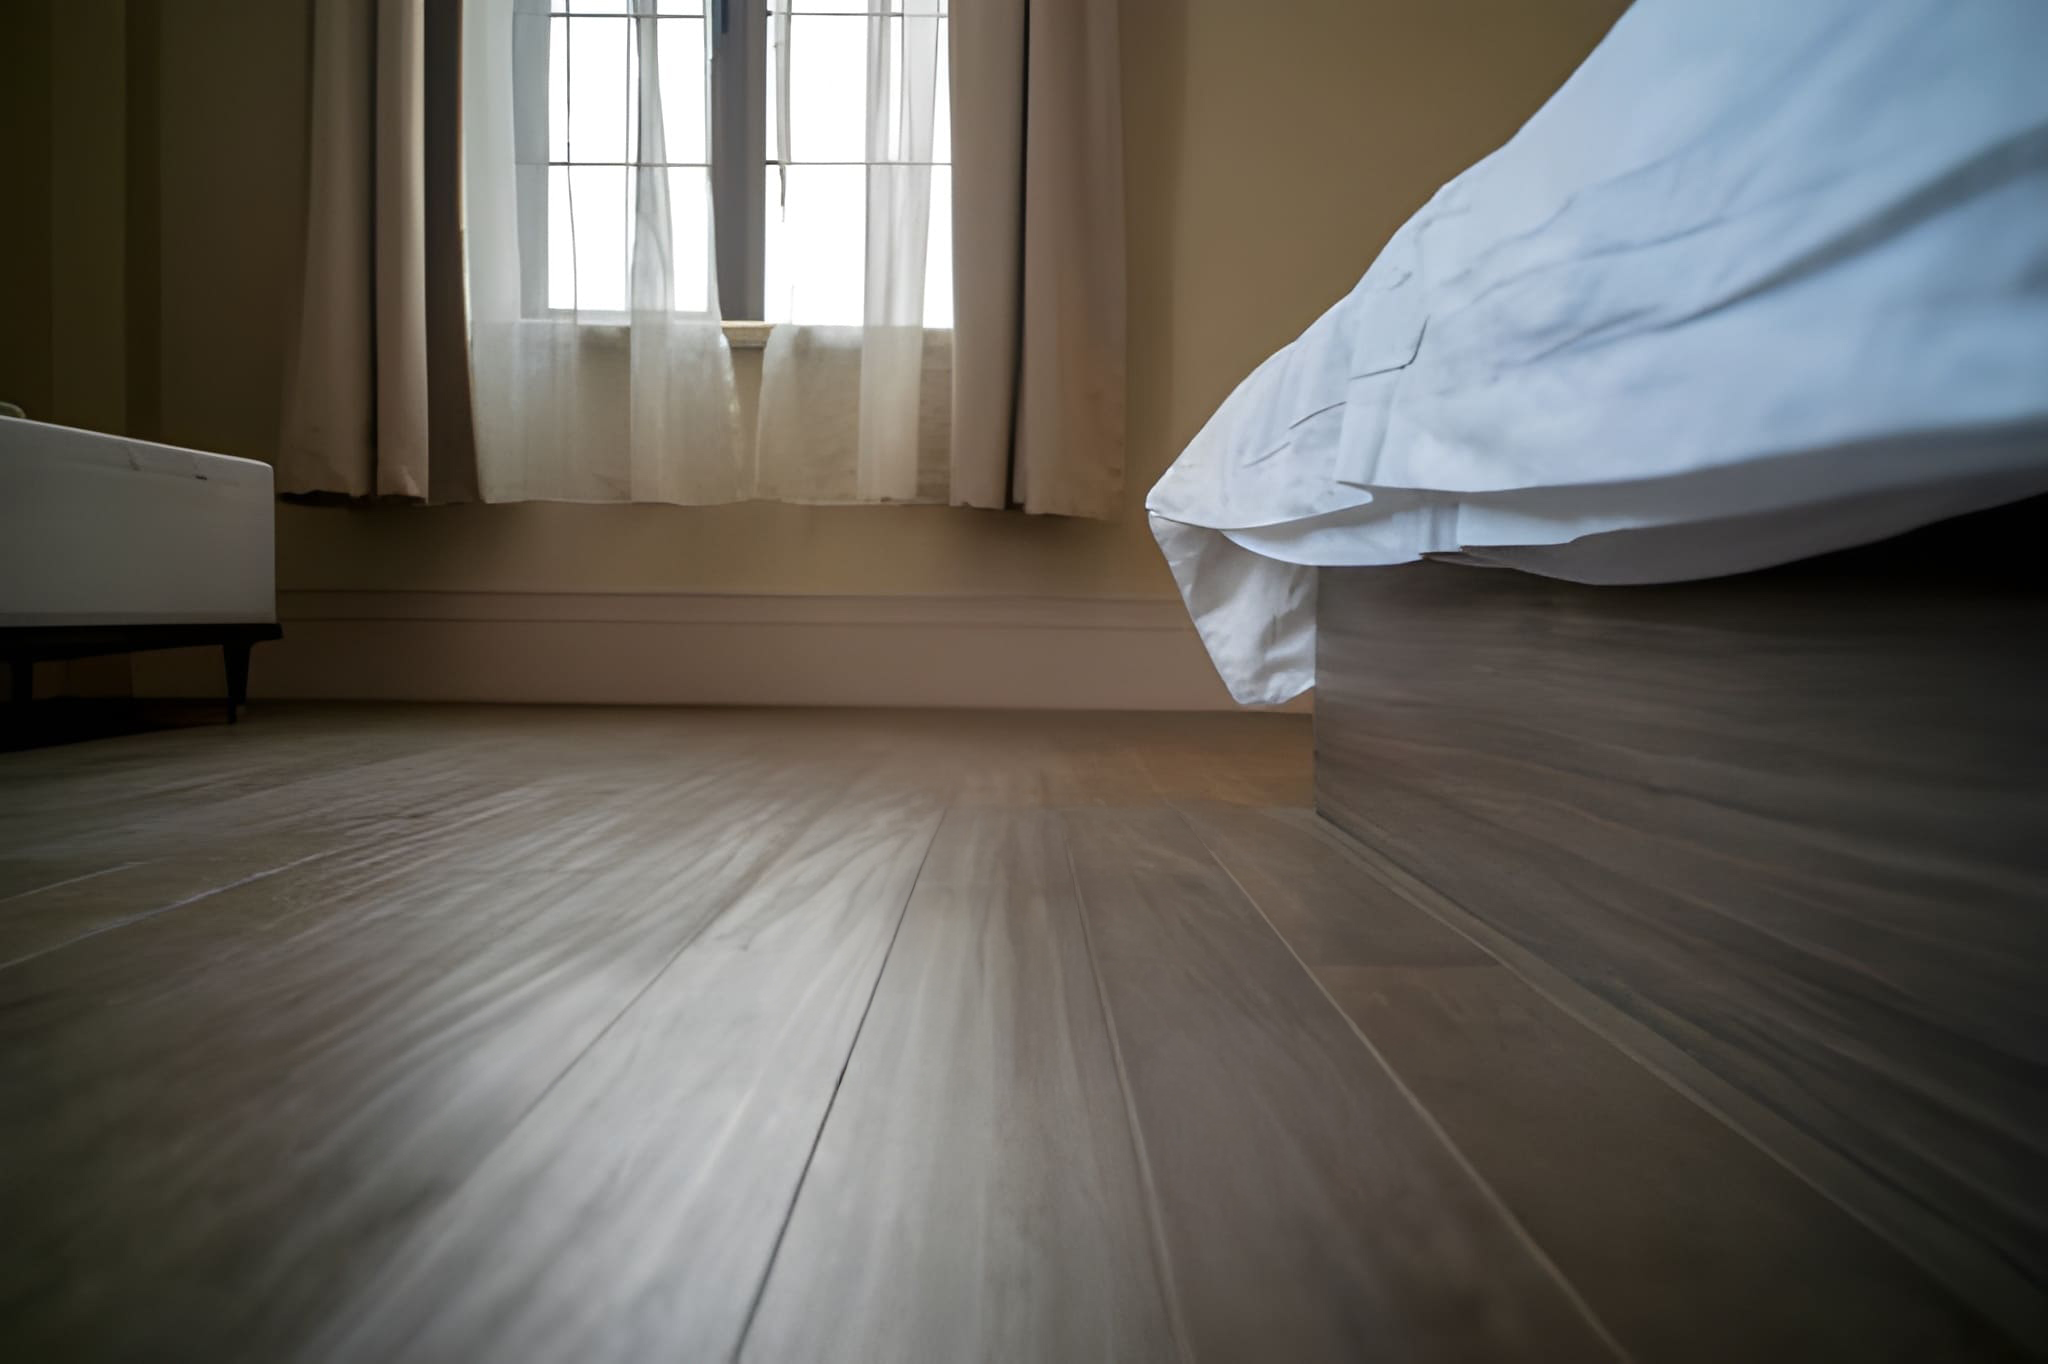
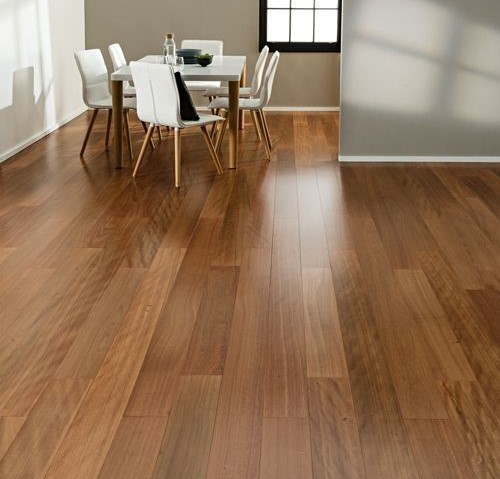
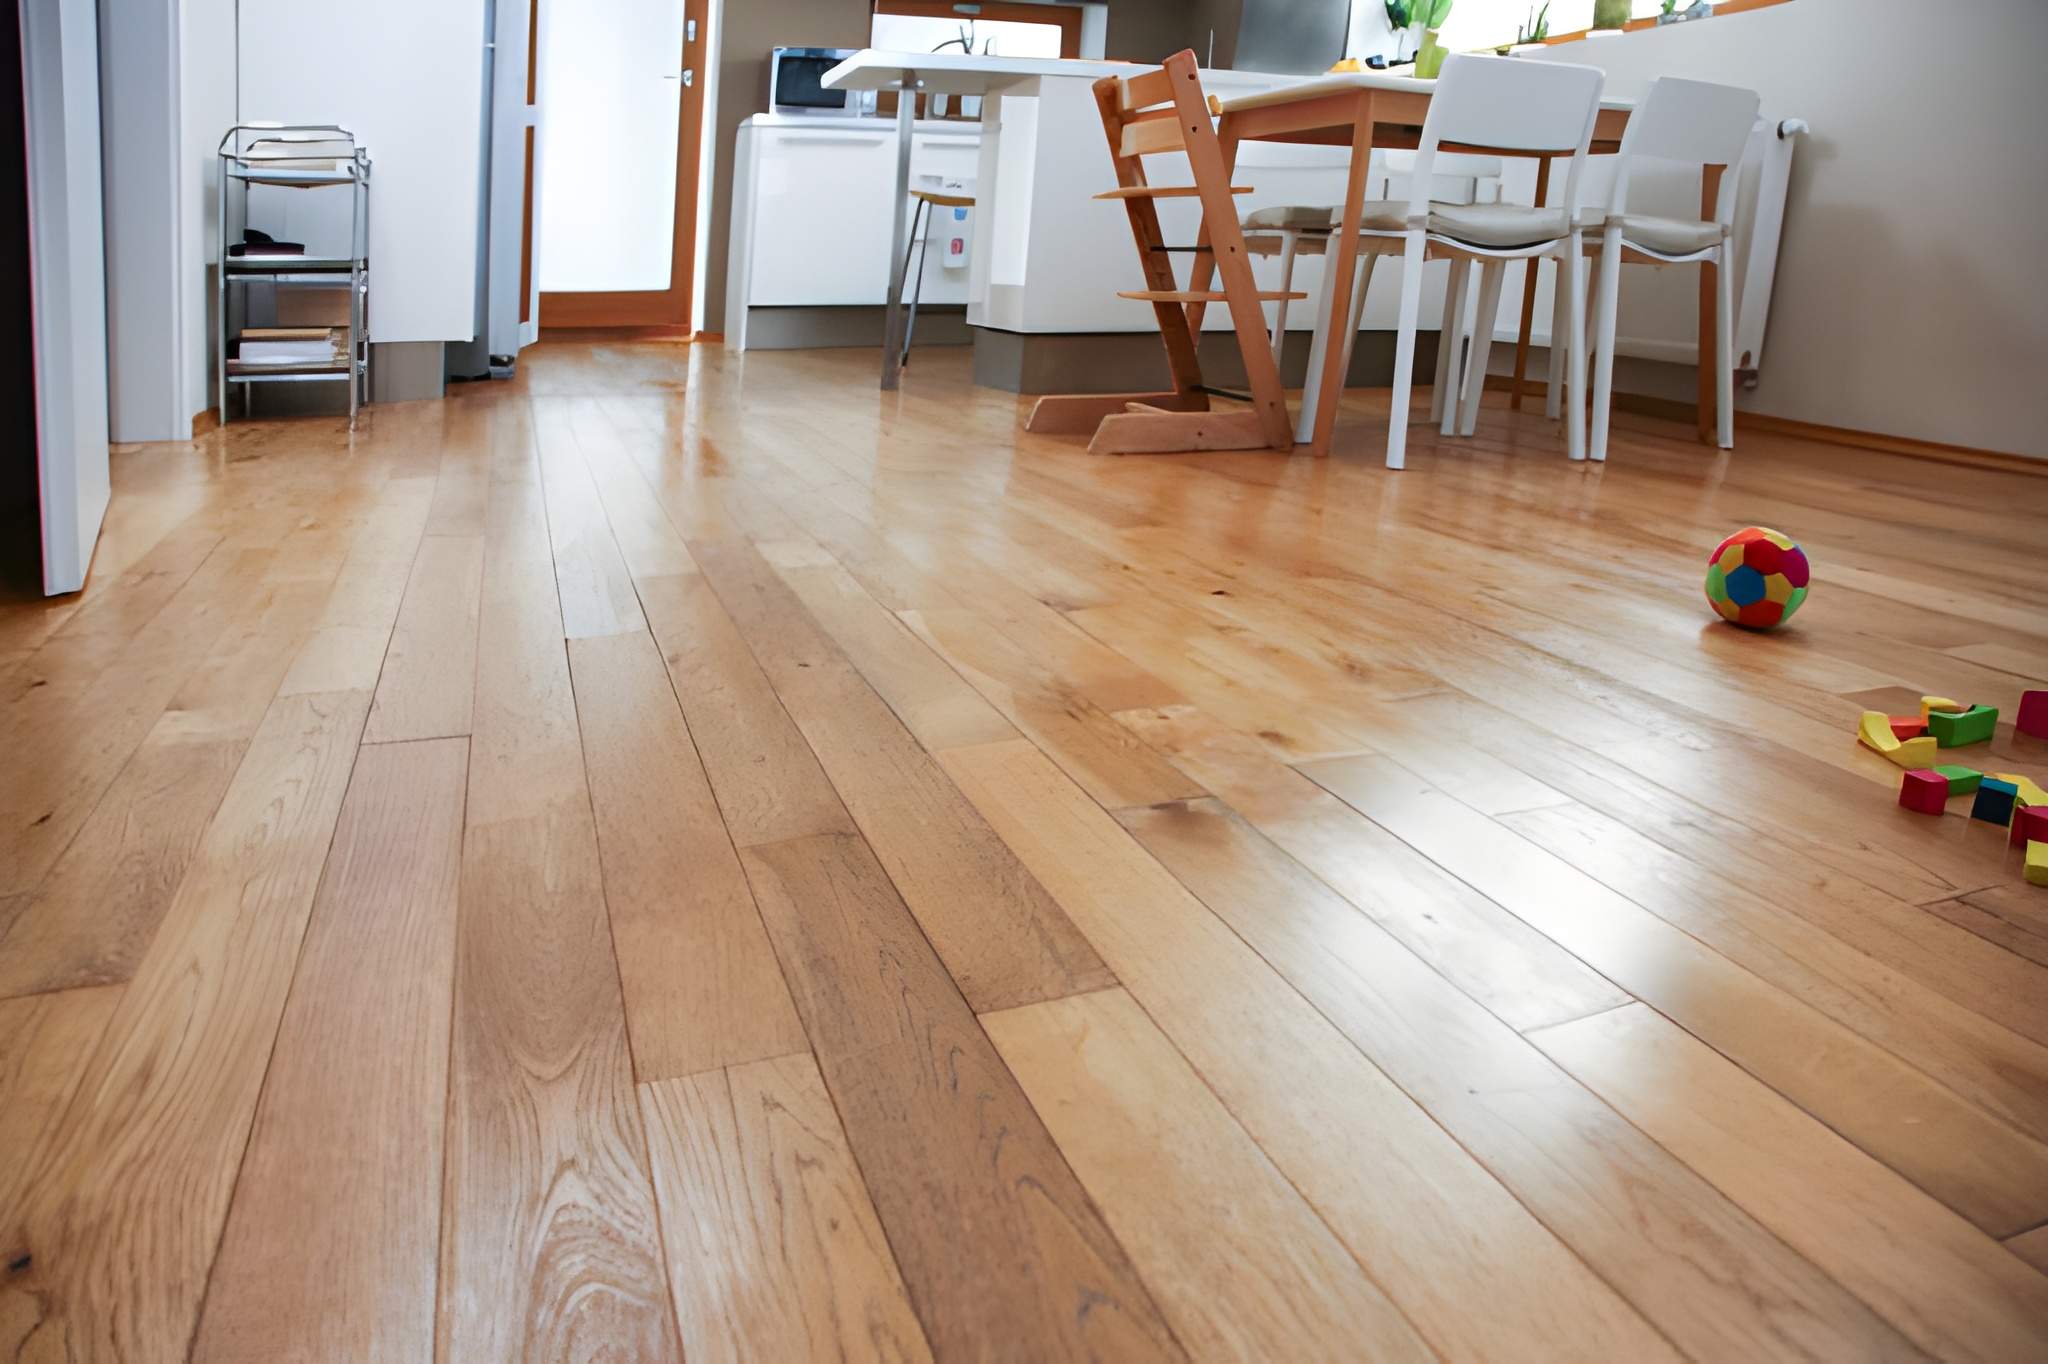
Floating installation
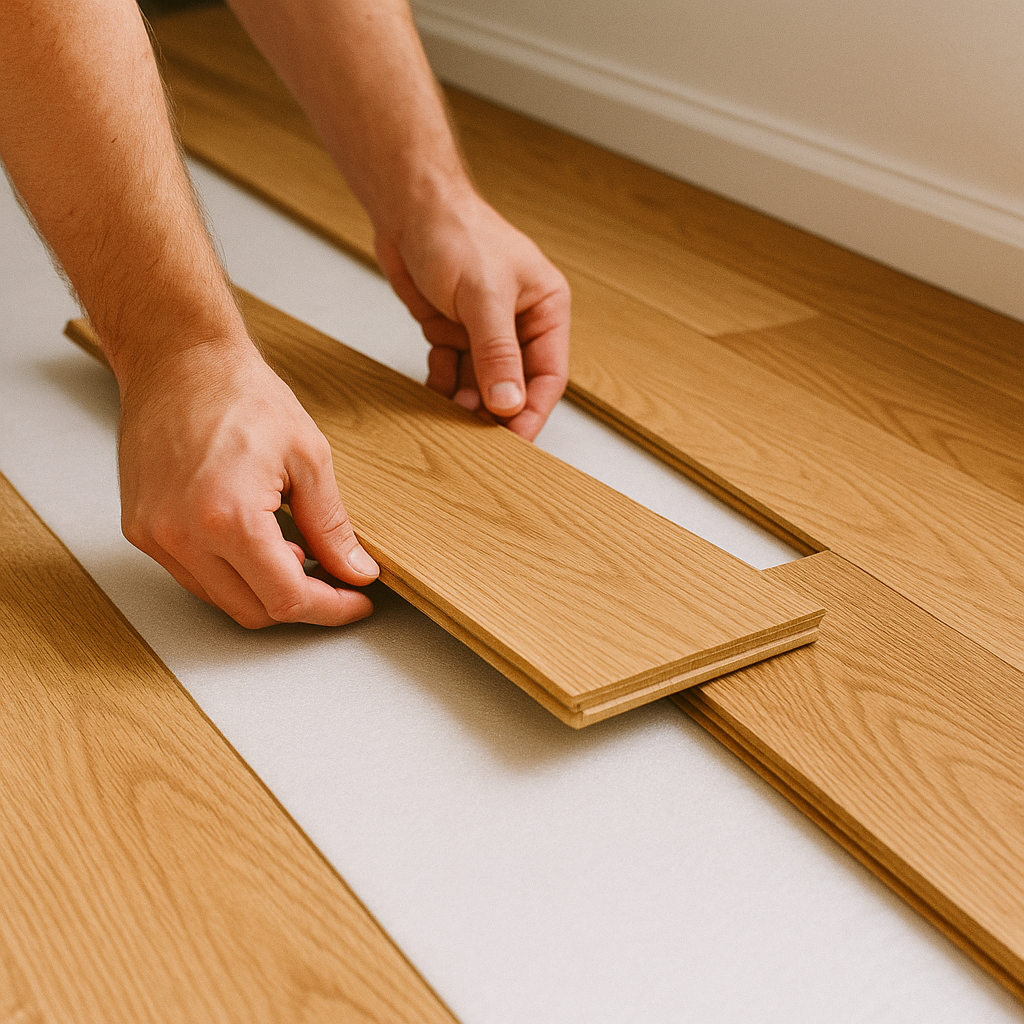
Floating installation is appropriate for engineered flooring. If you're looking for a quick, nail-free floor installation, a floating floor is your best option. Unlike traditional solid hardwood installation, a floating floor isn't nailed down to the subfloor. Instead, the planks are either glued or snapped together and sit atop the subfloor without being directly adhered to it.
Materials Needed
- • Rite Bond II white waterproof glue or equal
- • Weight(s)
- • Measuring tape
- • Saw
- • Chisel
Resources
Things to keep in mind:
- • Always review the instructions included in your box thoroughly before you start installation.
- • Lay flooring only after sheetrock and the work are thoroughly dried and all woodwork and trim have been completed.
- • To prevent warping and gaps, the flooring needs to sit at least 48 hours in the space to acclimate to the temperature and humidity.
- • No matter the material of the subfloor, test its moisture content with a moisture meter to confirm that it's not above 12 percent.
- • It's best practice to install your hardwood floorboards parallel to the longest dimension in the room.
- • Underlayment for floating should be foam designed, with a maximum 1/8" thickness.
- • Tongue and groove should be glued together using Rite Bond II type white water proof glue or equal. Place glue in groove and tap boards together.
- • Expansion space should be equal to the thickness of the material at all walls plus any vertical obstructions.
- • Do not install cabinets or walls on top of a floating floor.